Let’s talk about tofu! Even as a vegetarian, I don’t eat a ton of it. When I do, however, I want it crispy, and crispy tofu is an elusive beast. I’ve shared this method here and here, but I’ve gotten such fantastic feedback that I wanted to highlight it.
Even tofu skeptics love this tofu. Try it, and you will see!

Tips for Irresistibly Crispy Tofu
1) Choose the right kind of tofu.
Extra-firm tofu is the only way to go, and I’ve found that the Trader Joe’s brand is the most firm of them all (plus, it’s only two dollars). It’s organic, too, which is important when you’re buying tofu because soy is conventionally treated with fertilizers, herbicides and insecticides. Look for tofu in the refrigerated section by the produce.
2) Squeeze out as much moisture as possible.
Water-logged tofu never gets super crispy. The key here is to slice the tofu into pieces before pressing it. Have you ever tried pressing a whole block, or even two halves? They just sit in soggy puddles. Slice them into smaller pieces to maximize the surface area. Press those, and you’ll extract more moisture—faster, too.
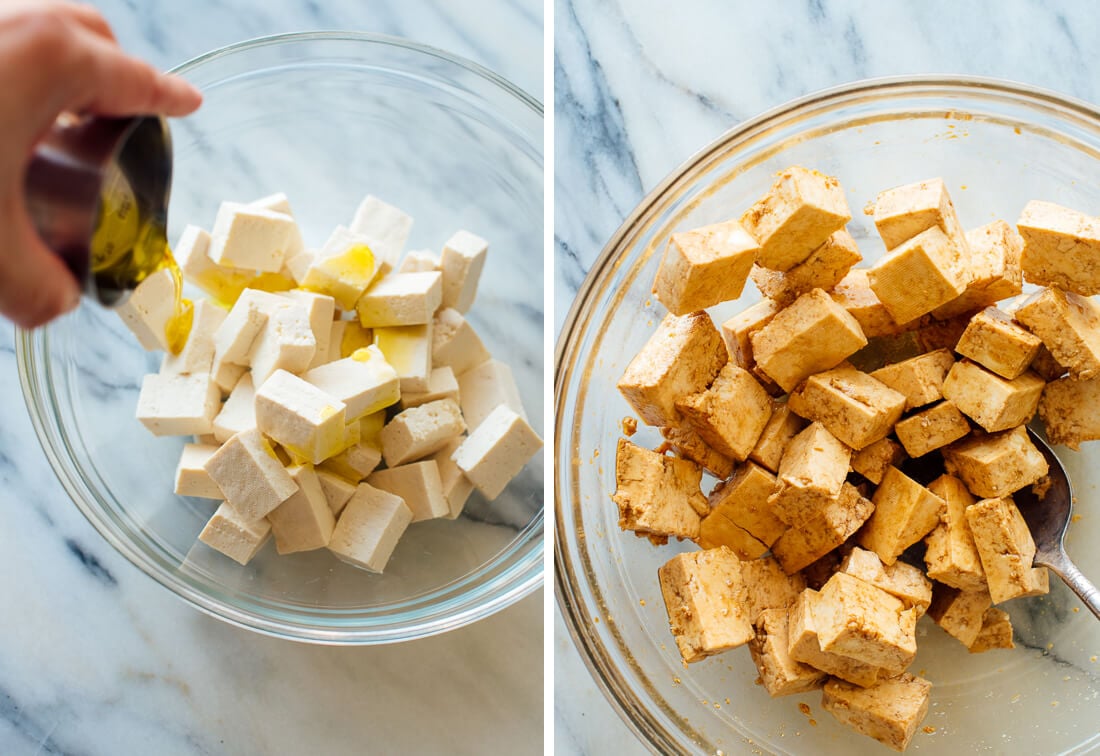
3) Toss your tofu in oil, soy sauce and starch.
Now, you just need to toss your tofu in a little oil (just 1 tablespoon for the full batch), tamari or soy sauce (for some flavor) and cornstarch or arrowroot starch. The starch makes the edges extra crispy and irresistible (I got this idea from The Kitchn).
Cornstarch vs. arrowroot: You might be wondering which starch is better. Cornstarch is a more processed ingredient, but it yields the crispiest results. Arrowroot is less processed and works well, but the outer covering can turn a little slippery and strange if you’re adding the tofu to a dish containing a lot of moisture (like curry).
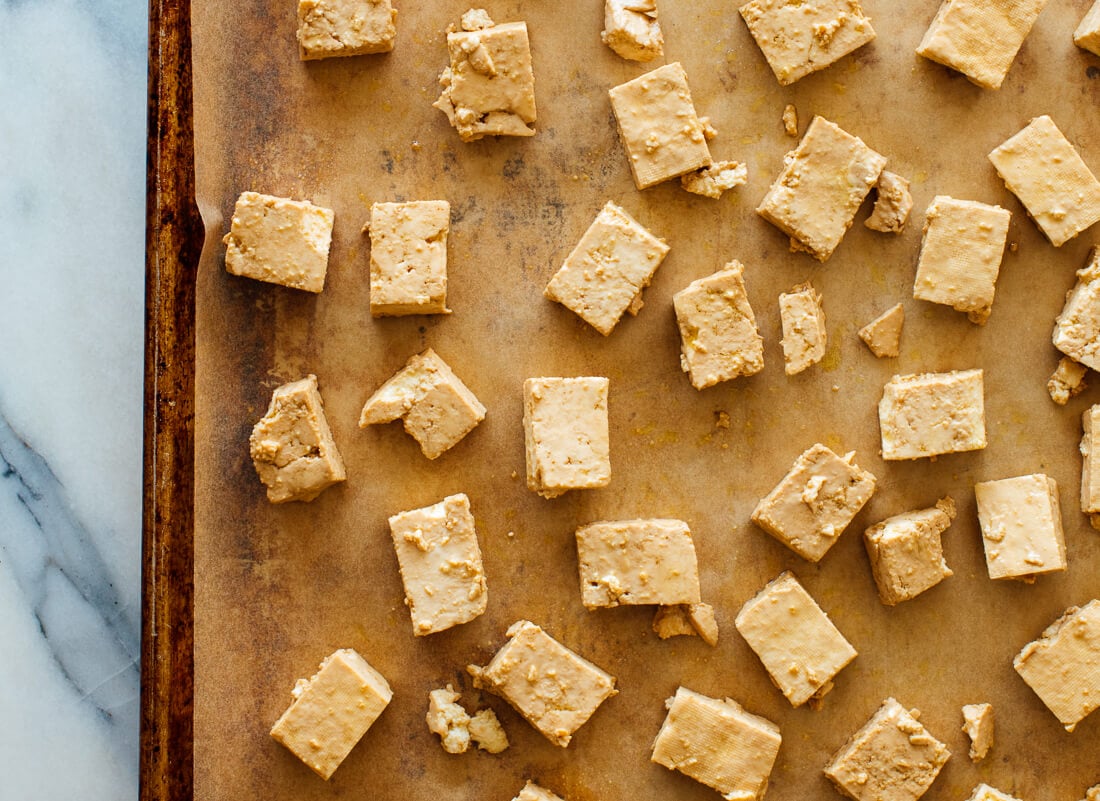
4) Bake it.
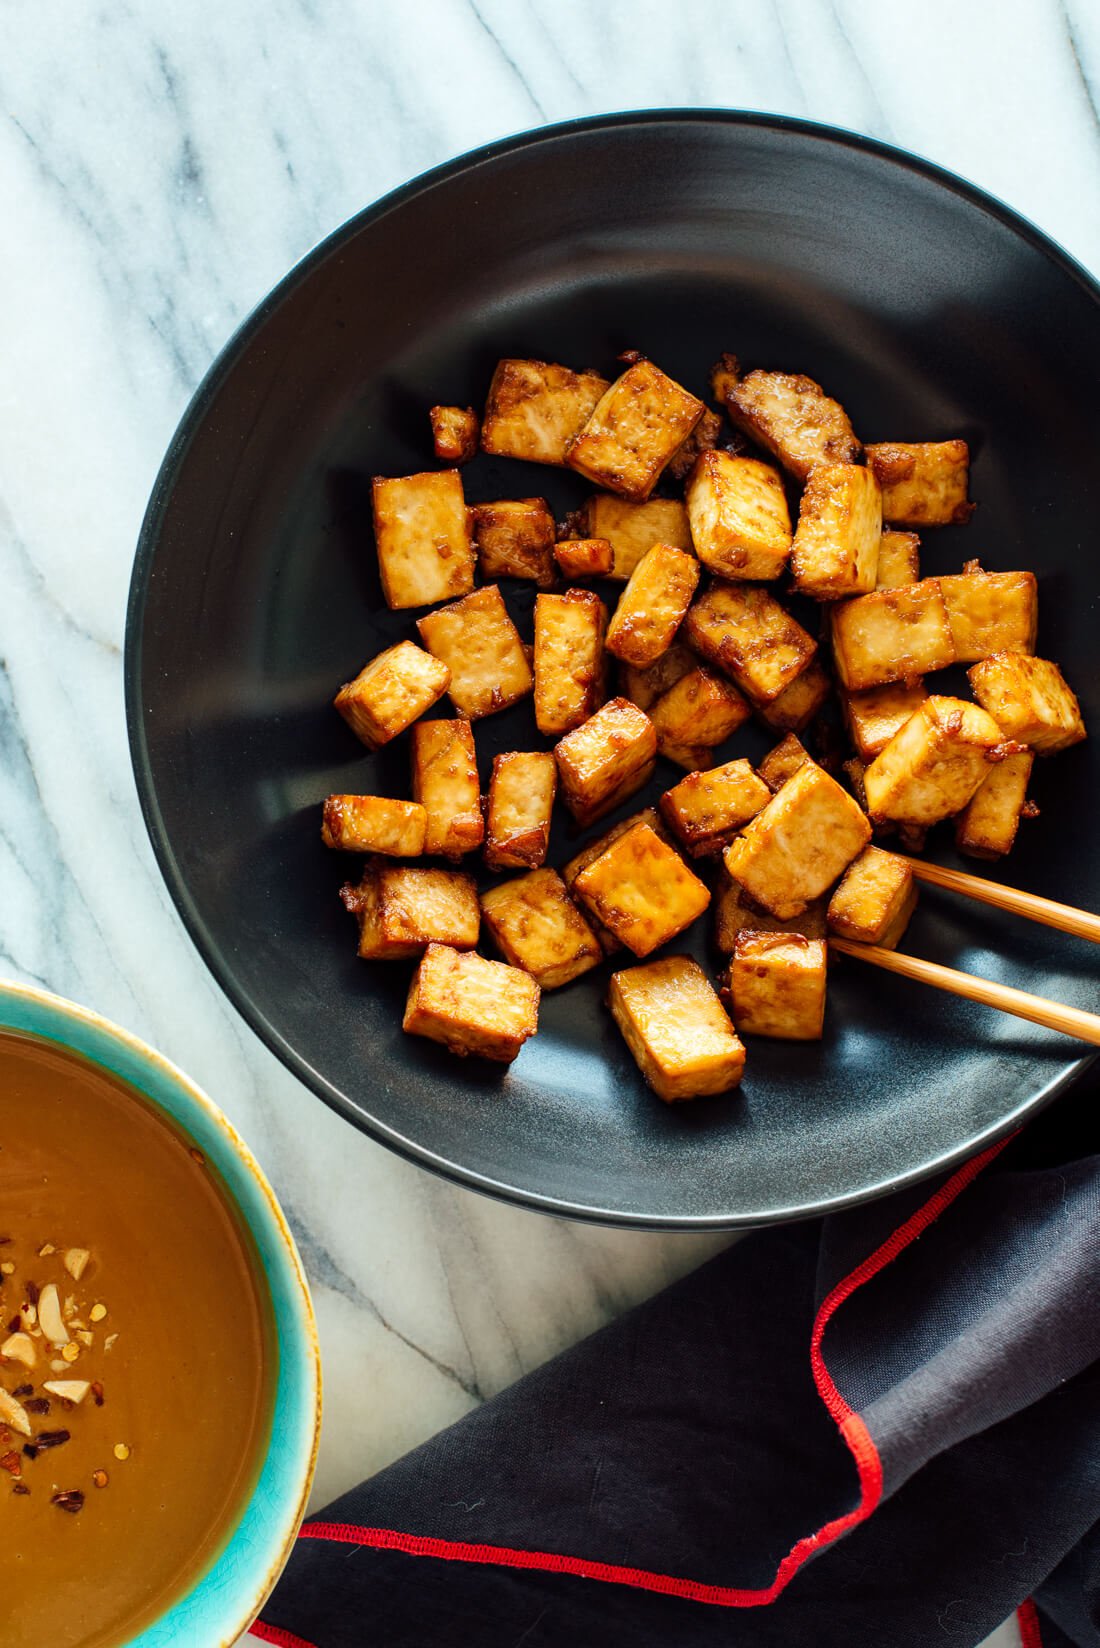
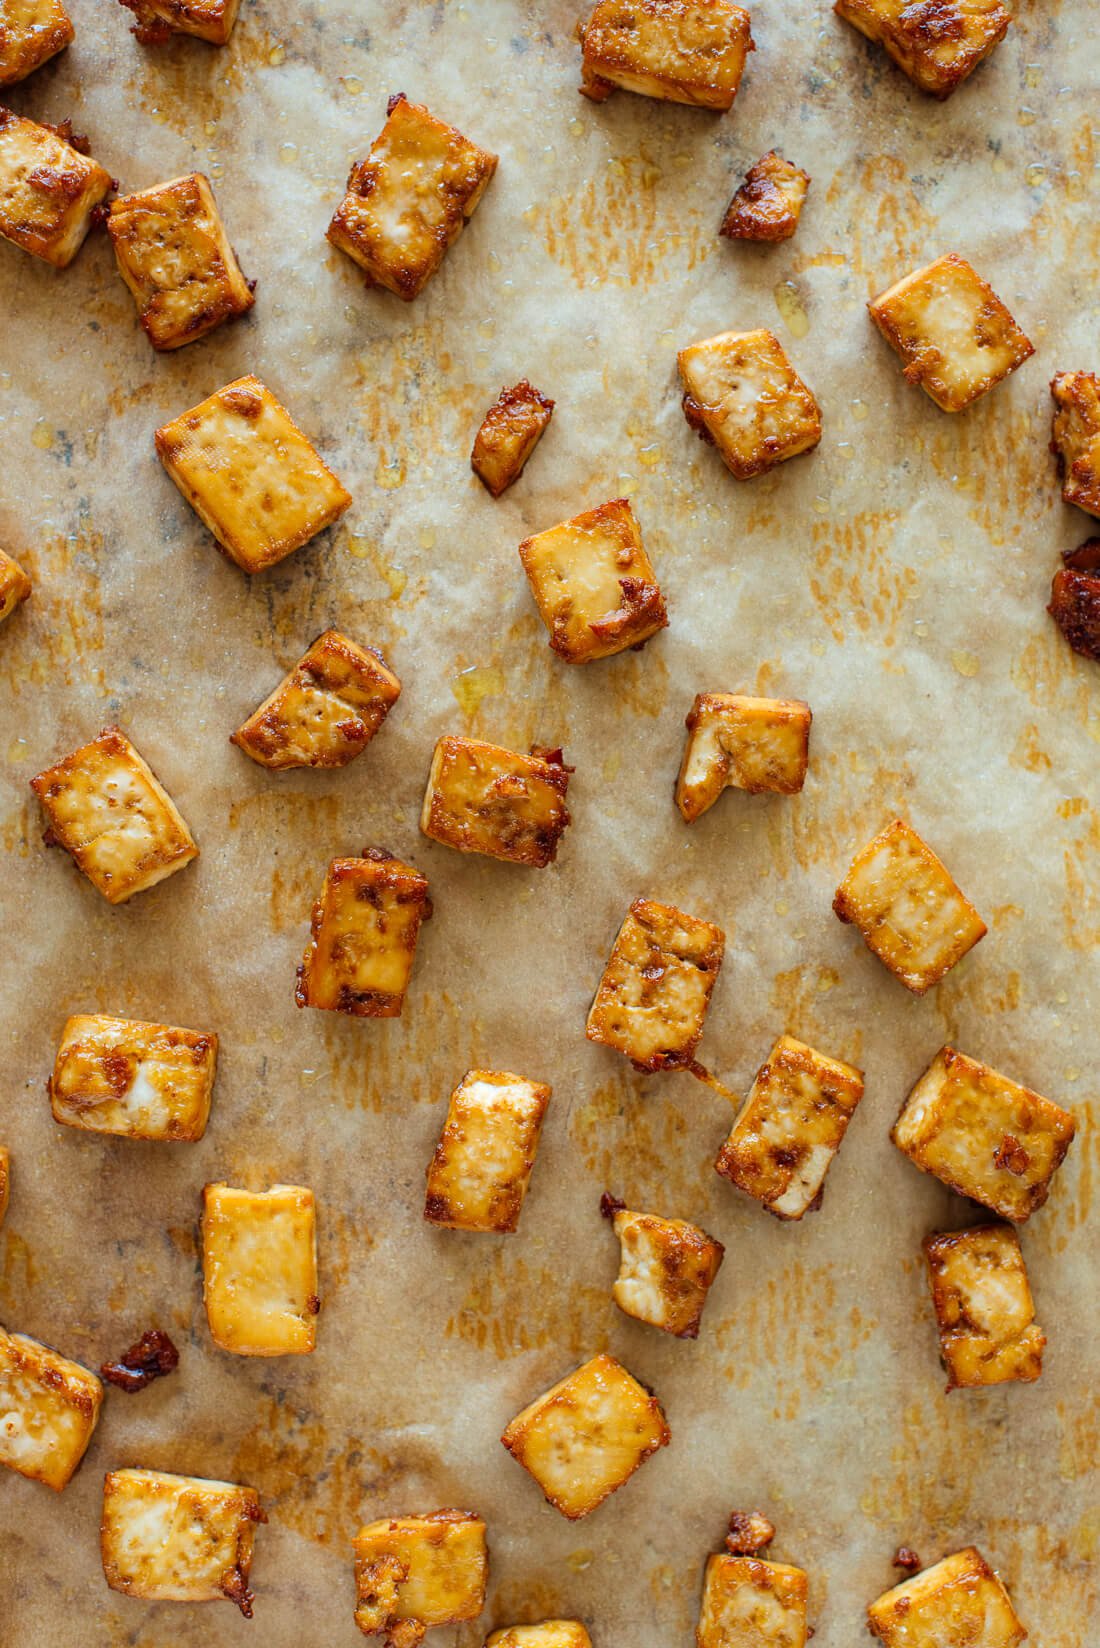
Spread your prepared tofu in an even layer across a sheet pan. Don’t worry if your tofu fell apart a bit as you tossed it. Bake until golden brown, about 25 to 30 minutes. Boom! Perfect tofu.
Why Bake Your Tofu?
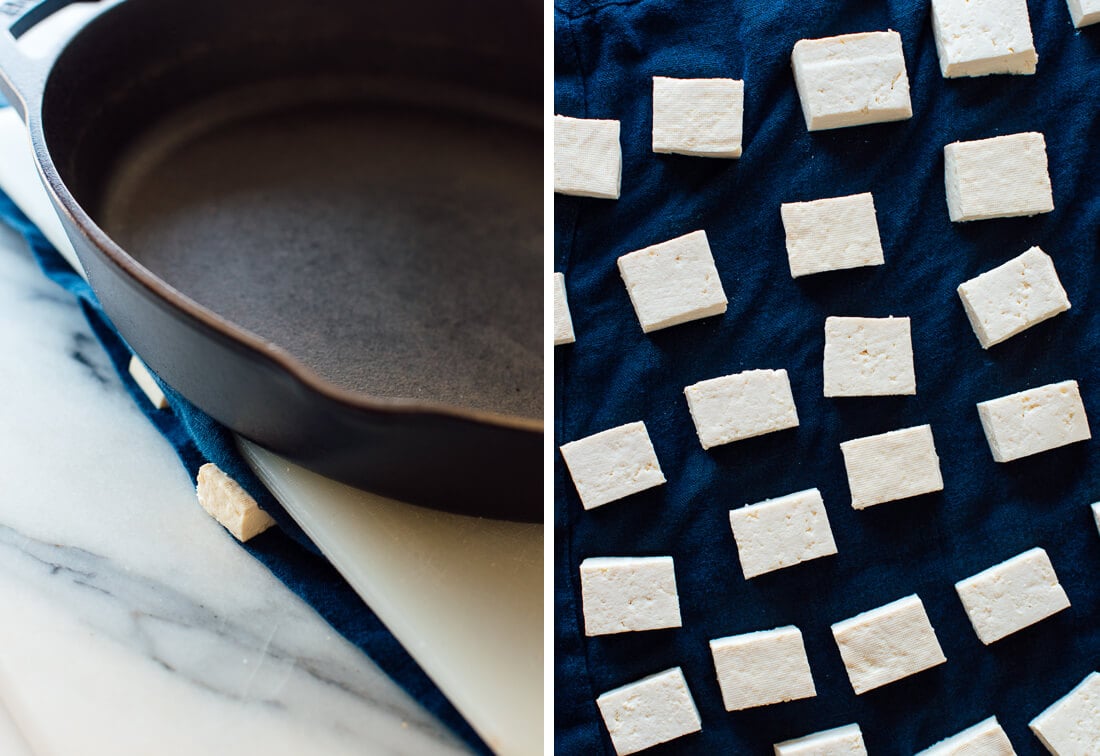
Some people swear by cooking their tofu in a skillet, but it never turns out well in my cast iron skillets. It sticks, and the crispy bits end up sticking to the pan, which is a tofu tragedy. Plus, it requires more oil, and you don’t need to use a lot of oil to get crispy tofu.
When you bake your tofu, you give it time to develop crispy edges and warm, pillowy insides. It’s simply the best.
Uses for Crispy Baked Tofu
If you want to infuse your tofu with more flavor, I recommend adding sauce after it’s baked, rather than marinating it. Why? Water-logged tofu isn’t actually very good at absorbing flavor (something that I always suspected, which was confirmed by Deborah Madison, via Serious Eats).
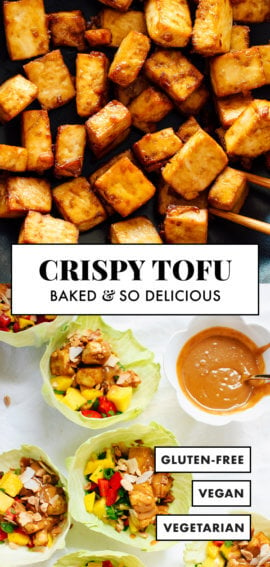
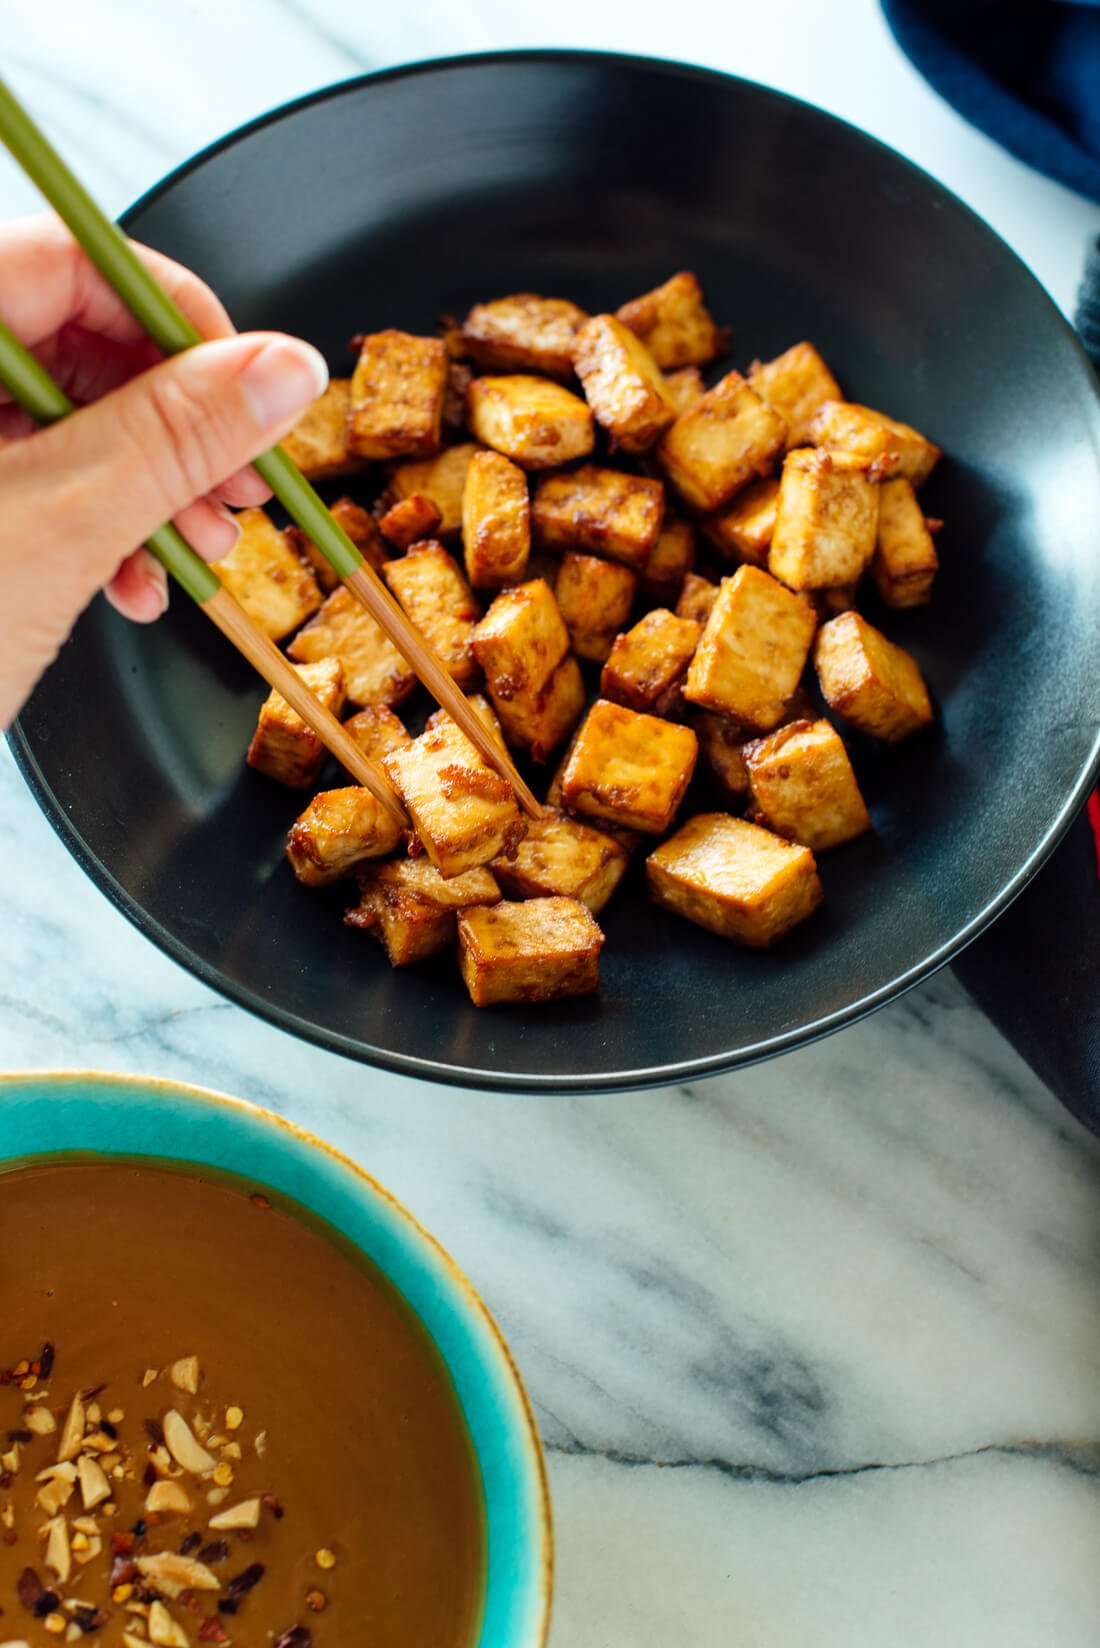
So, bake your tofu in the oven to crispy perfection, then cook it in sauce, or drizzle sauce on top. This tofu is perfect for tossing into any recipe with Asian flavors, or any recipe that could benefit from some hearty vegetarian protein. It would be great in my Thai red curry or green curry.
You could replace the eggs in my kale and coconut fried rice and Thai pineapple fried rice with this tofu. It is amazing with peanut sauce drizzled on top, in any form. (Fun fact: my crispy tofu and peanut sauce collide in my cookbook!)
Please let me know how your tofu turns out in the comments! I want to hear how you put it to use.
Watch How to Make Crispy Baked Tofu
How to Make Crispy Baked Tofu
- Author:
- Prep Time: 15 mins
- Cook Time: 25 mins
- Total Time: 40 minutes
- Yield: 4 servings 1x
- Category: Protein, side
- Method: Baked
- Cuisine: Asian
Here is how to make super crispy tofu in the oven. Recipe yields 4 servings of tofu, as a complement to a larger meal.
Ingredients
- 1 block (12 to 15 ounces) organic extra-firm tofu
- 1 tablespoon extra-virgin olive oil
- 1 tablespoon tamari* or soy sauce
- 1 tablespoon cornstarch or arrowroot starch
Instructions
- Preheat the oven to 400 degrees Fahrenheit and line a large, rimmed baking sheet with parchment paper to prevent the tofu from sticking.
- To prepare the tofu: Drain the tofu and use your palms to gently squeeze out some of the water. Slice the tofu into thirds lengthwise so you have 3 even slabs. Stack the slabs on top of each other and slice through them lengthwise to make 3 even columns, then slice across to make 5 even rows (see photos).
- Line a cutting board with a lint-free tea towel or paper towels, then arrange the tofu in an even layer on the towel(s). Fold the towel(s) over the cubed tofu, then place something heavy on top (like another cutting board, topped with a cast iron pan or large cans of tomatoes) to help the tofu drain. Let the tofu rest for at least 10 minutes (preferably more like 30 minutes, if you have the time).
- Transfer the pressed tofu to a medium mixing bowl and drizzle with the olive oil and tamari. Toss to combine. Sprinkle the starch over the tofu, and toss the tofu until the starch is evenly coated, so there are no powdery spots remaining.
- Tip the bowl of tofu over onto your prepared baking sheet and arrange the tofu in an even layer. Bake for 25 to 30 minutes, tossing the tofu halfway, until the tofu is deeply golden on the edges. Use as desired.
Notes
Recipe adapted from my roasted Brussels sprouts and crispy baked tofu with honey-sesame glaze.
*Make it gluten free: This dish is gluten free as long as you use gluten-free tamari, which is a variety of soy sauce that is usually (but not always, check the label) gluten free. I always use tamari instead of soy sauce because I prefer the flavor of it! Look for tamari next to the soy sauce in the Asian aisle of the grocery store.
 Vegetable enthusiast. Dog lover. I'm probably making a big mess in my Kansas City kitchen right now.
Kelly K Rose
Wanting crispy tofu for my vegan tacos, I substituted the soy sauce with sriracha. Turned out beautifully with the squash, black bean, and corn tacos I made. Even my tofu averse boyfriend liked it!
★★★★★
Dr. J
I love this recipe as a good starting point. I’ve tried a dozen different baked tofu recipes, and all of them have all sorts of starch and oil; yuck! Never thought of using nutritional yeast before seeing this recipe, and now I’m wondering why, because it’s FABULOUS! Couple of important notes, though: First, you really don’t need the oil at all. I leave it off and still get a nice texture. Second, you don’t need to flip the pieces; they get plenty crispy on the bottom if you use parchment paper instead of foil.
★★★★★
Kate
Thank you for sharing your experience.
Jola
Easy to follow recipe. I sprinkled generously with sesame seeds before baking. This gave it a nutty flavor. My husband who previously didn’t like tofu said yum!
★★★★★
Kate
That’s great to hear, Jola! I appreciate your review.
Millie
I did the exact recipe and it did not work very disappointed
Ann
I made it! Liked it. Did one thing different and I think it worked better. I blended the olive oil, corn starch and soy sauce together into a paste in a large bowl. Then added to tofu pieces and tossed to coat. Worked a tad better. I’m using your tofu bits as croutons in a salad.
Fed them to my friend who “hates” tofu … told her they were “puffed Himalayan cheese.” … she bought it! Said they were wonderful!!
★★★★★
Tamahb
This is a game changer! So so good – I have never found a way to make tofu so delicious I could eat the whole recipe. Perfect for meal prep.
★★★★★
Kate
Thank you for your review, Tamahb!
Jessie A Georges
I always wondered how my favorite Thai and Vietnamese restaurants achieved the perfect tofu – crispy on the outside. This recipe is the answer. Perfect tofu! I served it with the Extra Vegetable Fried Rice. Delicious!
★★★★★
Kate
Thank you for your review, Jessie.
Nikki
This recipe is the best to achieve the elusive [non-fried] crispy and flavorful tofu! I only had chickpea flour on hand which I subbed in for the corn starch, but even then it was still a slam dunk. Paired with the roasted brussel sprouts recipe + sauce linked above, it was absolutely perfect. I’m not ever going back to pan-cooked or fried tofu nor trying to unsuccessfully marinade it. Thank you, Kate!!
★★★★★
Kate
You’re welcome, Nikki! Thank you for your review.